Trustindex verifies that the original source of the review is Google. I contacted radiant solutions company through their contact us tab on the website. Matt answered my email very promptly. I had a few more questions so I sent him another email and he called me right back by phone instead of chatting back-and-forth n email. He took the time to answer all my questions and give me inside tips on installation. I highly recommend them and I highly recommend Matt as a sales / customer service representative.Posted onTrustindex verifies that the original source of the review is Google. We are so pleased with the service and product from this company. The self regulating pipe heating cables that we have purchased have kept our pipes in our RV from freezing and running smoothly in this super cold winter. They have been easy to install and monitor. I would highly recommend ALL of the products from this company.Posted onTrustindex verifies that the original source of the review is Google. I've worked with these guys a few times now and they've been super helpful every time and are great to work with!Posted onTrustindex verifies that the original source of the review is Google. Amazing products and the best customer service! Have used them for a while and will continue to do so. This company is great to work with.Posted onTrustindex verifies that the original source of the review is Google. This is a fantastic company with well thought out and high-quality products. The 'kits' for cable ends, tees and terminals are complete and easy to install. All instructions are complete and excellent support is available. The paper installation manual is a complete planning and installation guide. Company support is first rate. Highly recommended vendor.Posted onTrustindex verifies that the original source of the review is Google. Excellent products from an outstanding company. Very glad everything is American made and it shows! I contacted the company twice before ordering and I received an answer within the hour. Shipping was vey fast since I ordered on Friday and was delivered on Monday! The 10 year warranty is superior and instructions are clear. There is not another heat cable on the market that even come close to these guys.Posted onTrustindex verifies that the original source of the review is Google. Great installation of heat tape on two roof sections. Installer showed up on time, did a professional job, and checked that it worked.Posted onTrustindex verifies that the original source of the review is Google. As an installer of Heat Tape on homes, Radiant Solutions provides super high quality heat cable. It’s a mix of ease of installation and some of the best customer support that makes this above and beyond expectations. The waves this cable creates in rooflines is very satisfying to install and look at. Grip Clips are the best and strongest way to securely mount it to the roofline.Posted on

This includes, but is not limited to:
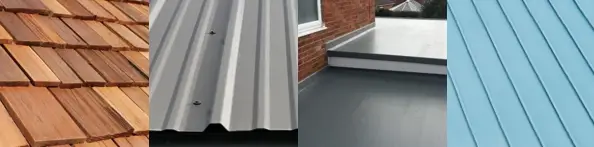
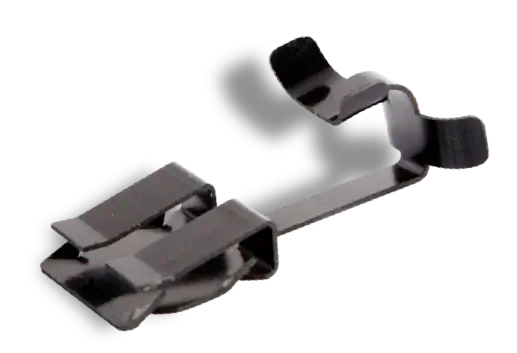
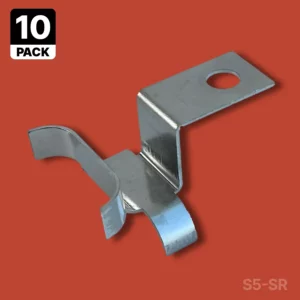
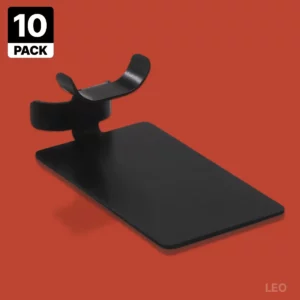
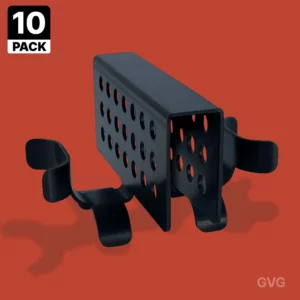
The type of roof you have determines the roof clips and accessories needed. Check out our Heat Tape Installation Accessories.
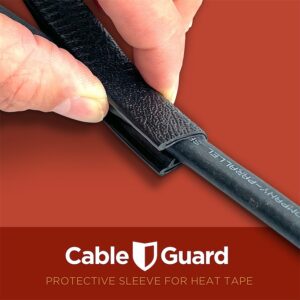
The cable can be exposed to wetness but the thermostat must stay dry to function properly. Use Pipe Freeze PRO for pipe freeze prevention applications only.
Radiant Solutions has the most comprehensive installation system for Heat Tape that exists. We make accessories to install heat tape on almost any kind of roof.
Click here to learn about product specifically for Natural Cedar Roofs
Because our heat cable can be overlapped, there is no specific way to wrap valves. A simple loop of cable around the body of the valve will be enough. A couple things to remember. First, try to keep the cable in contact with the valve so the heat transfers effectively from the cable to the valve. Next, do your best to insulate the valve to protect it from the cold. This often means getting a little creative with the same insulation you use for the pipe. You can use a scissors to cut the insulation into one or more shapes and then secure those shapes to the valve with tape (duct tape works well). Speaking of tape, remember to use our fiberglass installation tape to secure the cable to the pipe.
Heat tape cables should not be installed in any permanently hidden areas.
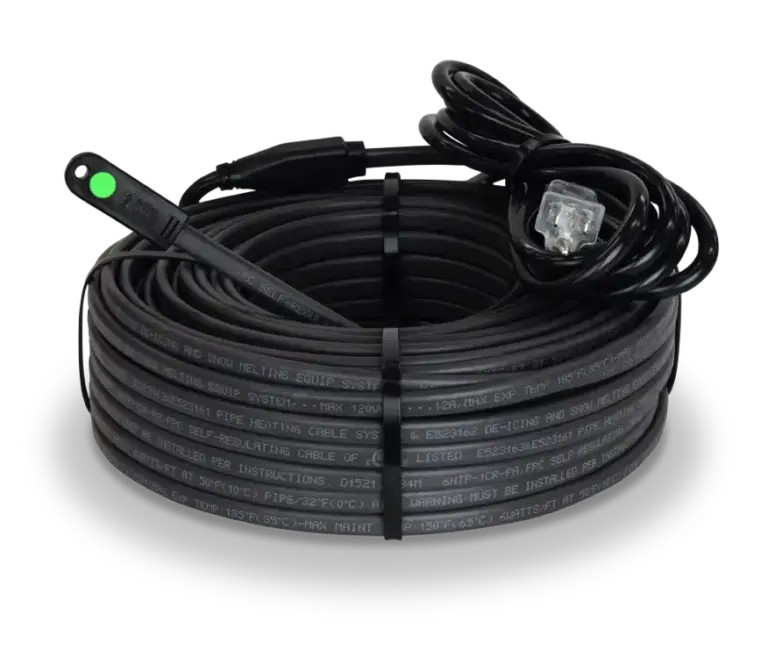
The short answer is NO. Self-regulating heat cable does not turn itself on and off automatically. To do that you need to put the cable on a switched circuit or outlet or on a controller. Of course, you can also be old-school about it and simply plug and unplug as needed.
“Self-Regulating” refers to the fact that these cables are temperature sensitive. Due to their construction, these cables sense changes in temperature along their entire length, demanding more power as temps fall and less when they rise.
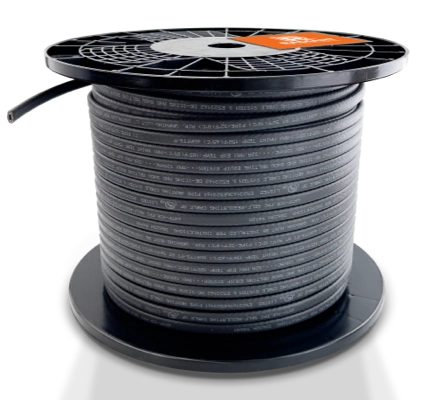
PipeFreeeze Pro™, Pipe Freeze Protection Solution has a built in thermostatic switch, meaning it will turn on and off on it’s own.
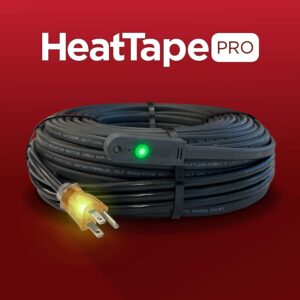
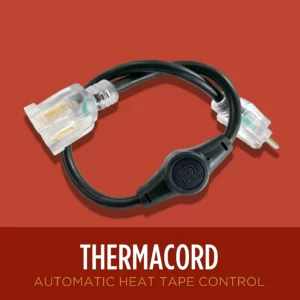
Heat Tape Pro™, does not contain a built-in thermostatic controller. We recommend adding the ThermaCord™ Thermostatic controller to turn your Heat Tape PRO to turn the cable on and off with changes in temperature.
PipeFreezePRO comes with one or more 30ft rolls of high-quality fiberglass tape, but you can use any tape with a temperature rating of 150º F and above. Self-adhesive aluminum foil tape can be used but avoid standard tapes, including electrical tape and duct tape because they lose their adhesion when exposed to heat. Remember, it’s imperative to cover the pipe/heat tape assembly with pipe insulation (1/2″ minimum thickness). Think four easy steps: 1) cable on pipe, 2) tape on cable, 3) insulation on pipe/cable and 4) tape on insulation.
We are building a hand guide to identify what kind of roof you have and find the clips that can/should be used with that roof-type.
View the Guide Explaining What Clips You Need Here
We have a guide on How to Measure for Purchasing Heat Tape that will help you. Once you have your measurements, you can find our Heat Tape Calculator here.