Trustindex verifies that the original source of the review is Google. I contacted radiant solutions company through their contact us tab on the website. Matt answered my email very promptly. I had a few more questions so I sent him another email and he called me right back by phone instead of chatting back-and-forth n email. He took the time to answer all my questions and give me inside tips on installation. I highly recommend them and I highly recommend Matt as a sales / customer service representative.Posted onTrustindex verifies that the original source of the review is Google. We are so pleased with the service and product from this company. The self regulating pipe heating cables that we have purchased have kept our pipes in our RV from freezing and running smoothly in this super cold winter. They have been easy to install and monitor. I would highly recommend ALL of the products from this company.Posted onTrustindex verifies that the original source of the review is Google. I've worked with these guys a few times now and they've been super helpful every time and are great to work with!Posted onTrustindex verifies that the original source of the review is Google. Amazing products and the best customer service! Have used them for a while and will continue to do so. This company is great to work with.Posted onTrustindex verifies that the original source of the review is Google. This is a fantastic company with well thought out and high-quality products. The 'kits' for cable ends, tees and terminals are complete and easy to install. All instructions are complete and excellent support is available. The paper installation manual is a complete planning and installation guide. Company support is first rate. Highly recommended vendor.Posted onTrustindex verifies that the original source of the review is Google. Excellent products from an outstanding company. Very glad everything is American made and it shows! I contacted the company twice before ordering and I received an answer within the hour. Shipping was vey fast since I ordered on Friday and was delivered on Monday! The 10 year warranty is superior and instructions are clear. There is not another heat cable on the market that even come close to these guys.Posted onTrustindex verifies that the original source of the review is Google. Great installation of heat tape on two roof sections. Installer showed up on time, did a professional job, and checked that it worked.Posted onTrustindex verifies that the original source of the review is Google. As an installer of Heat Tape on homes, Radiant Solutions provides super high quality heat cable. It’s a mix of ease of installation and some of the best customer support that makes this above and beyond expectations. The waves this cable creates in rooflines is very satisfying to install and look at. Grip Clips are the best and strongest way to securely mount it to the roofline.Posted on
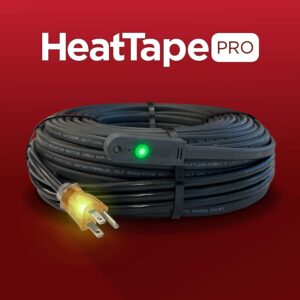

Heat Tape PRO can be use with any gutter system made, be it open, closed, metal, plastic, vertical or horizontal. Heat Tape PRO will work throughout the winter to keep an ice free path open for water so it can escape and move away from your home.
Keep in mind that if your home has ice dams in addition to ice in your gutters, you will want to install Heat Tape PRO on your roof to address that problem as well. Heat Cable in the gutters alone will not manage problematic ice on the roof surface.
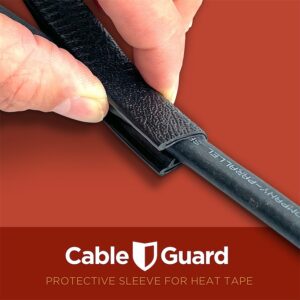
Heat tape cables should not be installed in any permanently hidden areas.
This includes, but is not limited to:
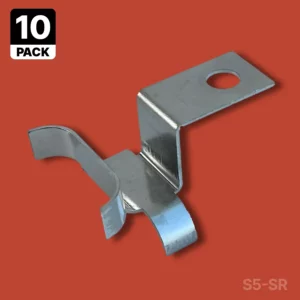
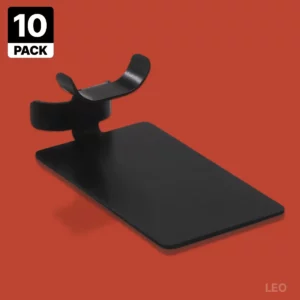
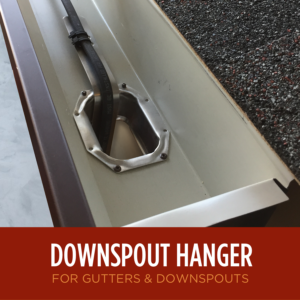
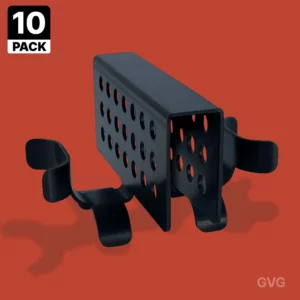
The type of roof you have determines the roof clips and accessories needed. Check out our Heat Tape Installation Accessories.
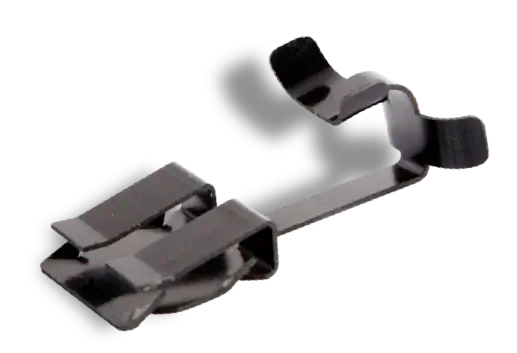
Radiant Solutions has the most comprehensive installation system for Heat Tape that exists. We make accessories to install heat tape on almost any kind of roof.
Click here to learn about product specifically for Natural Cedar Roofs
Heat Tape Pro is rated for wet locations and outdoor environments. It is ideally suited for outdoor pipes and can be installed in open drains, such as 4″ PVC pipes for gutter system drainage.
Do not use Pipe Freeze Pro for wet location pipe freeze protection.
Consider using Heat Tape Pro inside of open drain pipes as that cable is rated for use in wet areas.
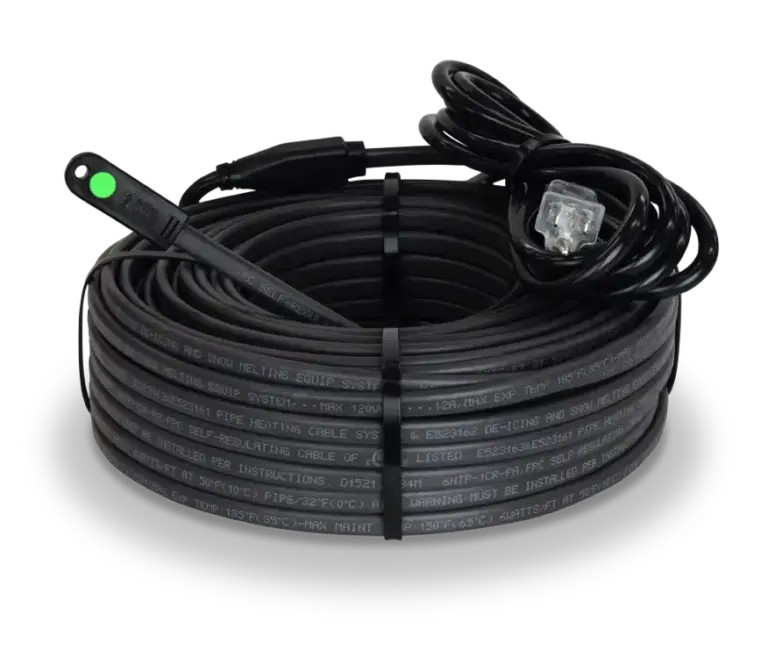
Heat Tape Pro and Pipe Freeze Pro are offered in many lengths from 6-foot up to 150-foot. These products are not designed to be modified, so you should pick the length you need and work with that length. These cables should not be altered and doing so would void any warranty on the product.
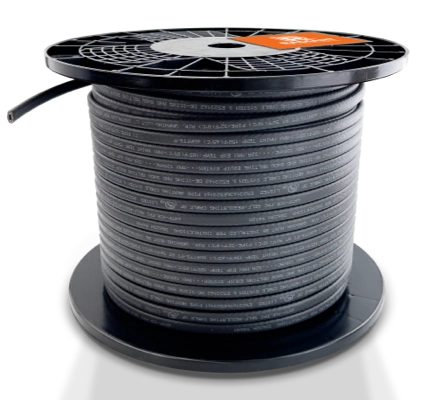
We offer heat tape on spools from 250-foot to 1000-foot. These spools are designed to be cut to length, made into multiple cables, etc. Heat Tape on spools needs to be hard-wired into a junction box, or have a power connection plug-in manually added to it for use. It also requires ends to be properly sealed and terminated. When working with Heat Tape on spools, a Licensed Electrician should be utilized to assure proper wiring per regional codes and standards.
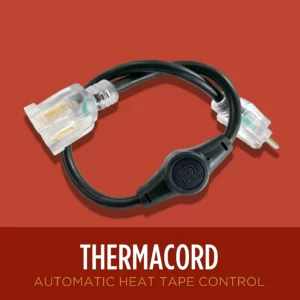
Pipe Freeze Pro’s integrated thermostat turns power on and off automatically to the cable to save electricity. The thermostat is the lump located between the power cord and the heat cable. The thermostat triggers the cable to turn on at 37ºF and off at 50ºF, with a sensitivity range of +/- 4ºF. It’s a great feature that makes Pipe Freeze Pro unique among heat cables on the market.
Yes and no. The cable is approved for exposure to wet conditions but you should keep the thermostat dry for proper operation.
No. The thermostat need only be exposed to cold air. It does not hurt to have the thermostat attached to the pipe but it is not necessary. If you choose to attach it to the pipe keep in mind that the thermostat should not be covered with insulation.
No. You want the thermostat to react to the cold environment so it triggers the Pipe Freeze Pro to turn on.