-

Heat Tape Pro
Price range: $72.95 through $560.95 Select options This product has multiple variants. The options may be chosen on the product page -

ThermaCord
$34.95 Add to cart -
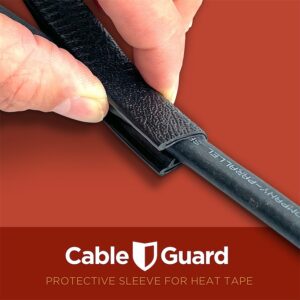
Cable Guard for Heat Tape
$13.95 Add to cart -

Copper Slate & Cedar Roof Clips
$17.50 Add to cart