
Use the following calculator to help determine what length of cable
and how many clips you need.
"*" indicates required fields
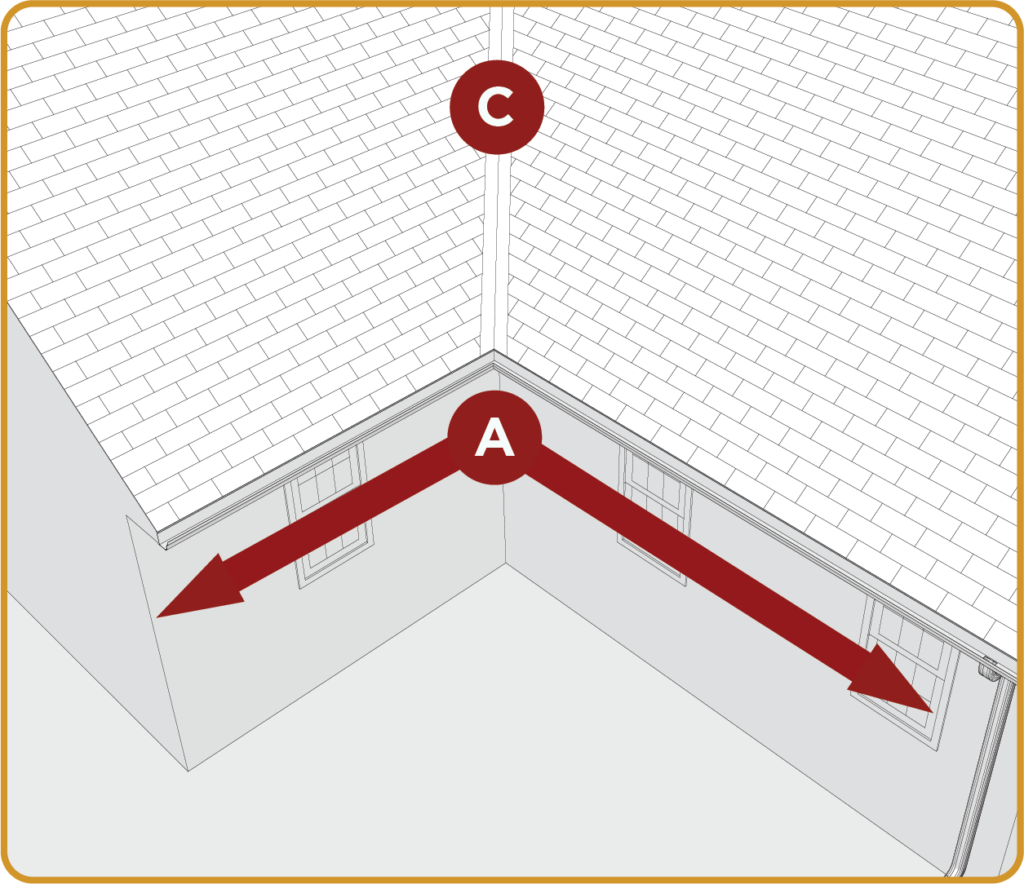
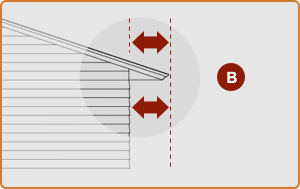
To view a detailed guide on how to measure for your heat tape installation, click below:
Find heat tape products & accessories for ice dam prevention and pipe freeze protection.
We may be able to help connect you with a Radiant Solutions Heat Tape installer in your area.
And Product Dimensions
Understand the problems that our products solve and the advantage Radiant Solutions has over our competitors.
Demand is high across the U.S. & installers are needed!
128-Bit encrypted connection
We’re here to help. We are a 35 year old, family-owned, American company who loves to hear from our customers.

If your heat cable project requires more than 150 feet, you have two simple options: Use a pair of our plug-in ready HeatTapePRO cables or, hardwire a single 240 volt cable from a spool. It’s important to note that a typical,standard residential outlet/circuit can only support a single 150′ cable at a time.
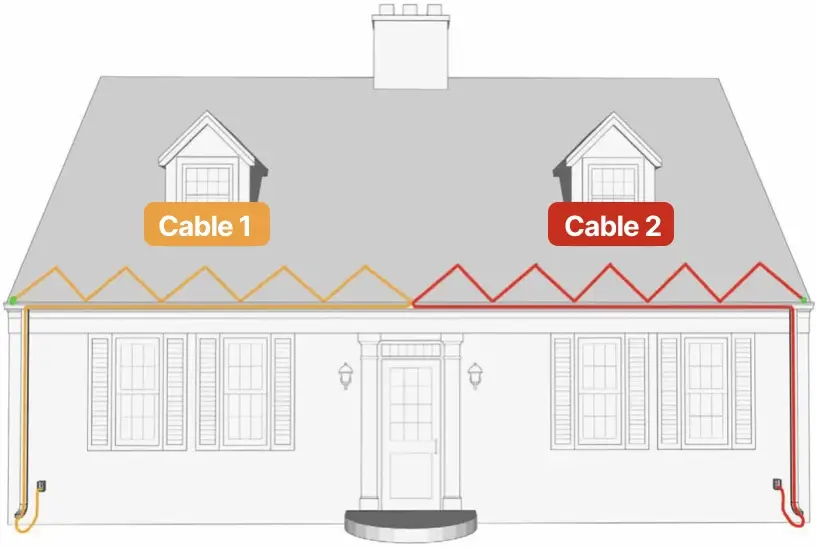
It’s often possible to use two standard, plug-in ready HeatTapePRO cables to addess larger areas. You will need to plug the cable into separate outlets on different circuits. Remember, all HeatTapePRO cables have a 10-foot length of power cord not included in it’s stated length.
To use two plug-in cables, divide your planned layout into two sections, and calculate the length needed for each.
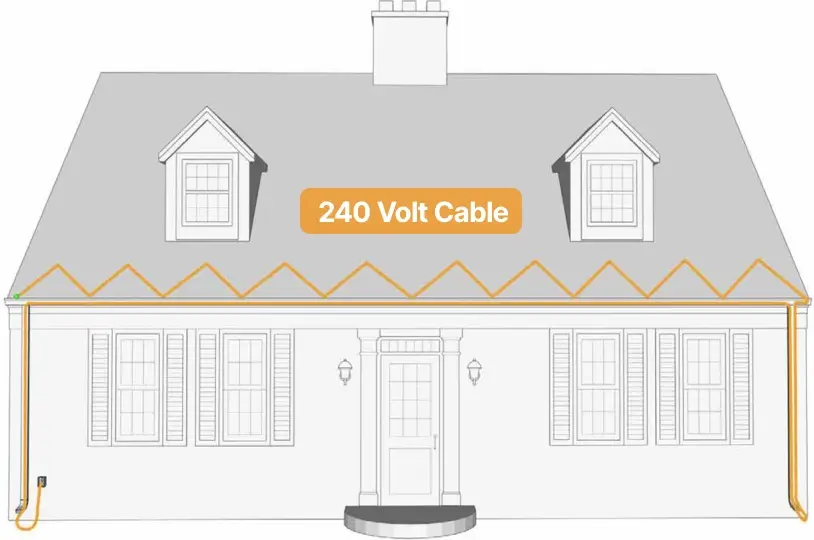
You can install a lot of our 6 watt, 240 volt heat cable on a 240 volt circuit. Although our plug-in cable has a top length of 150-foot, installing spooled cable is identical to pre-assembled cables with the exception of connections and terminations. You must terminate the end of your cable with either our traditional End Seal Kit, or our popular GlowCap End Seal Kit. You will also need to connect your heat cable to a junction box fed by 240 volts using our Hardwire Connection Kit. Connection kits take about 10 minutes to execute.