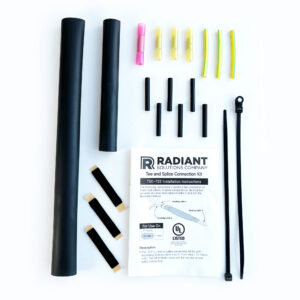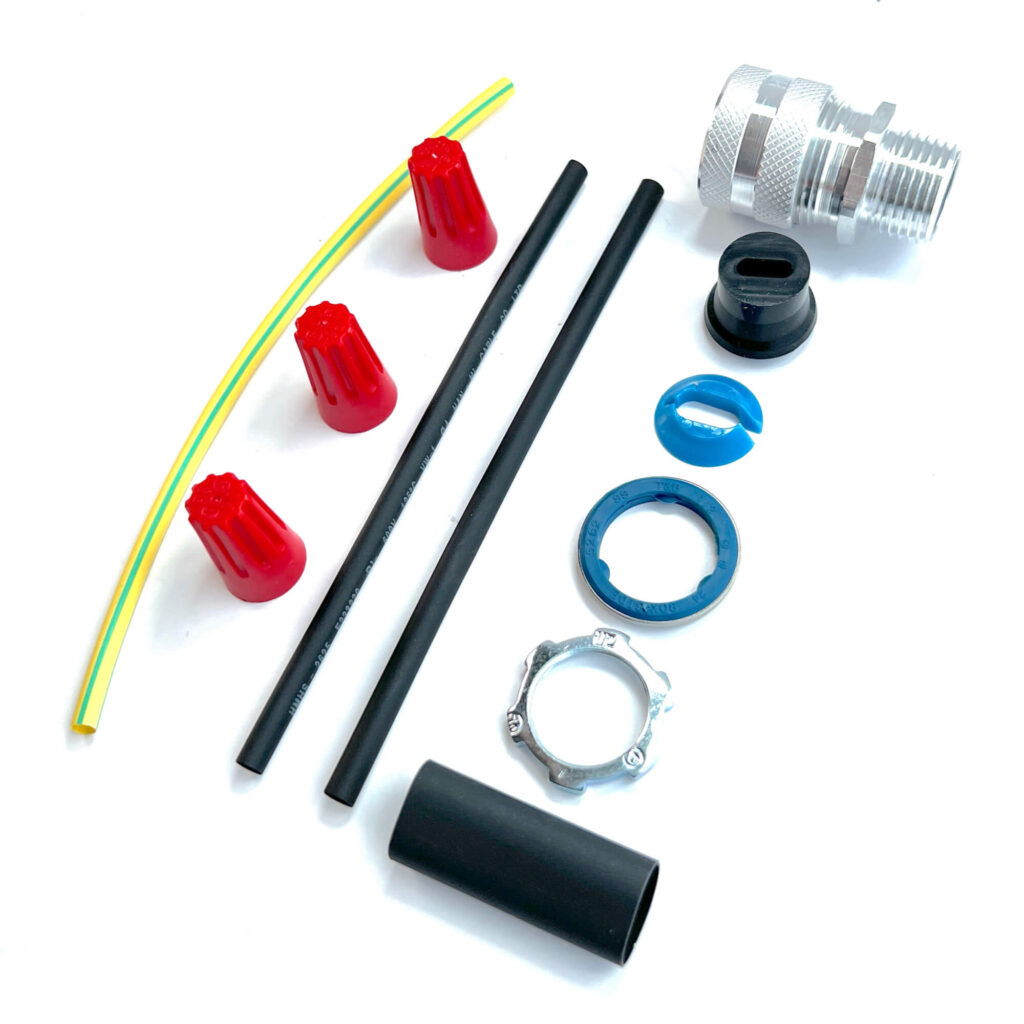

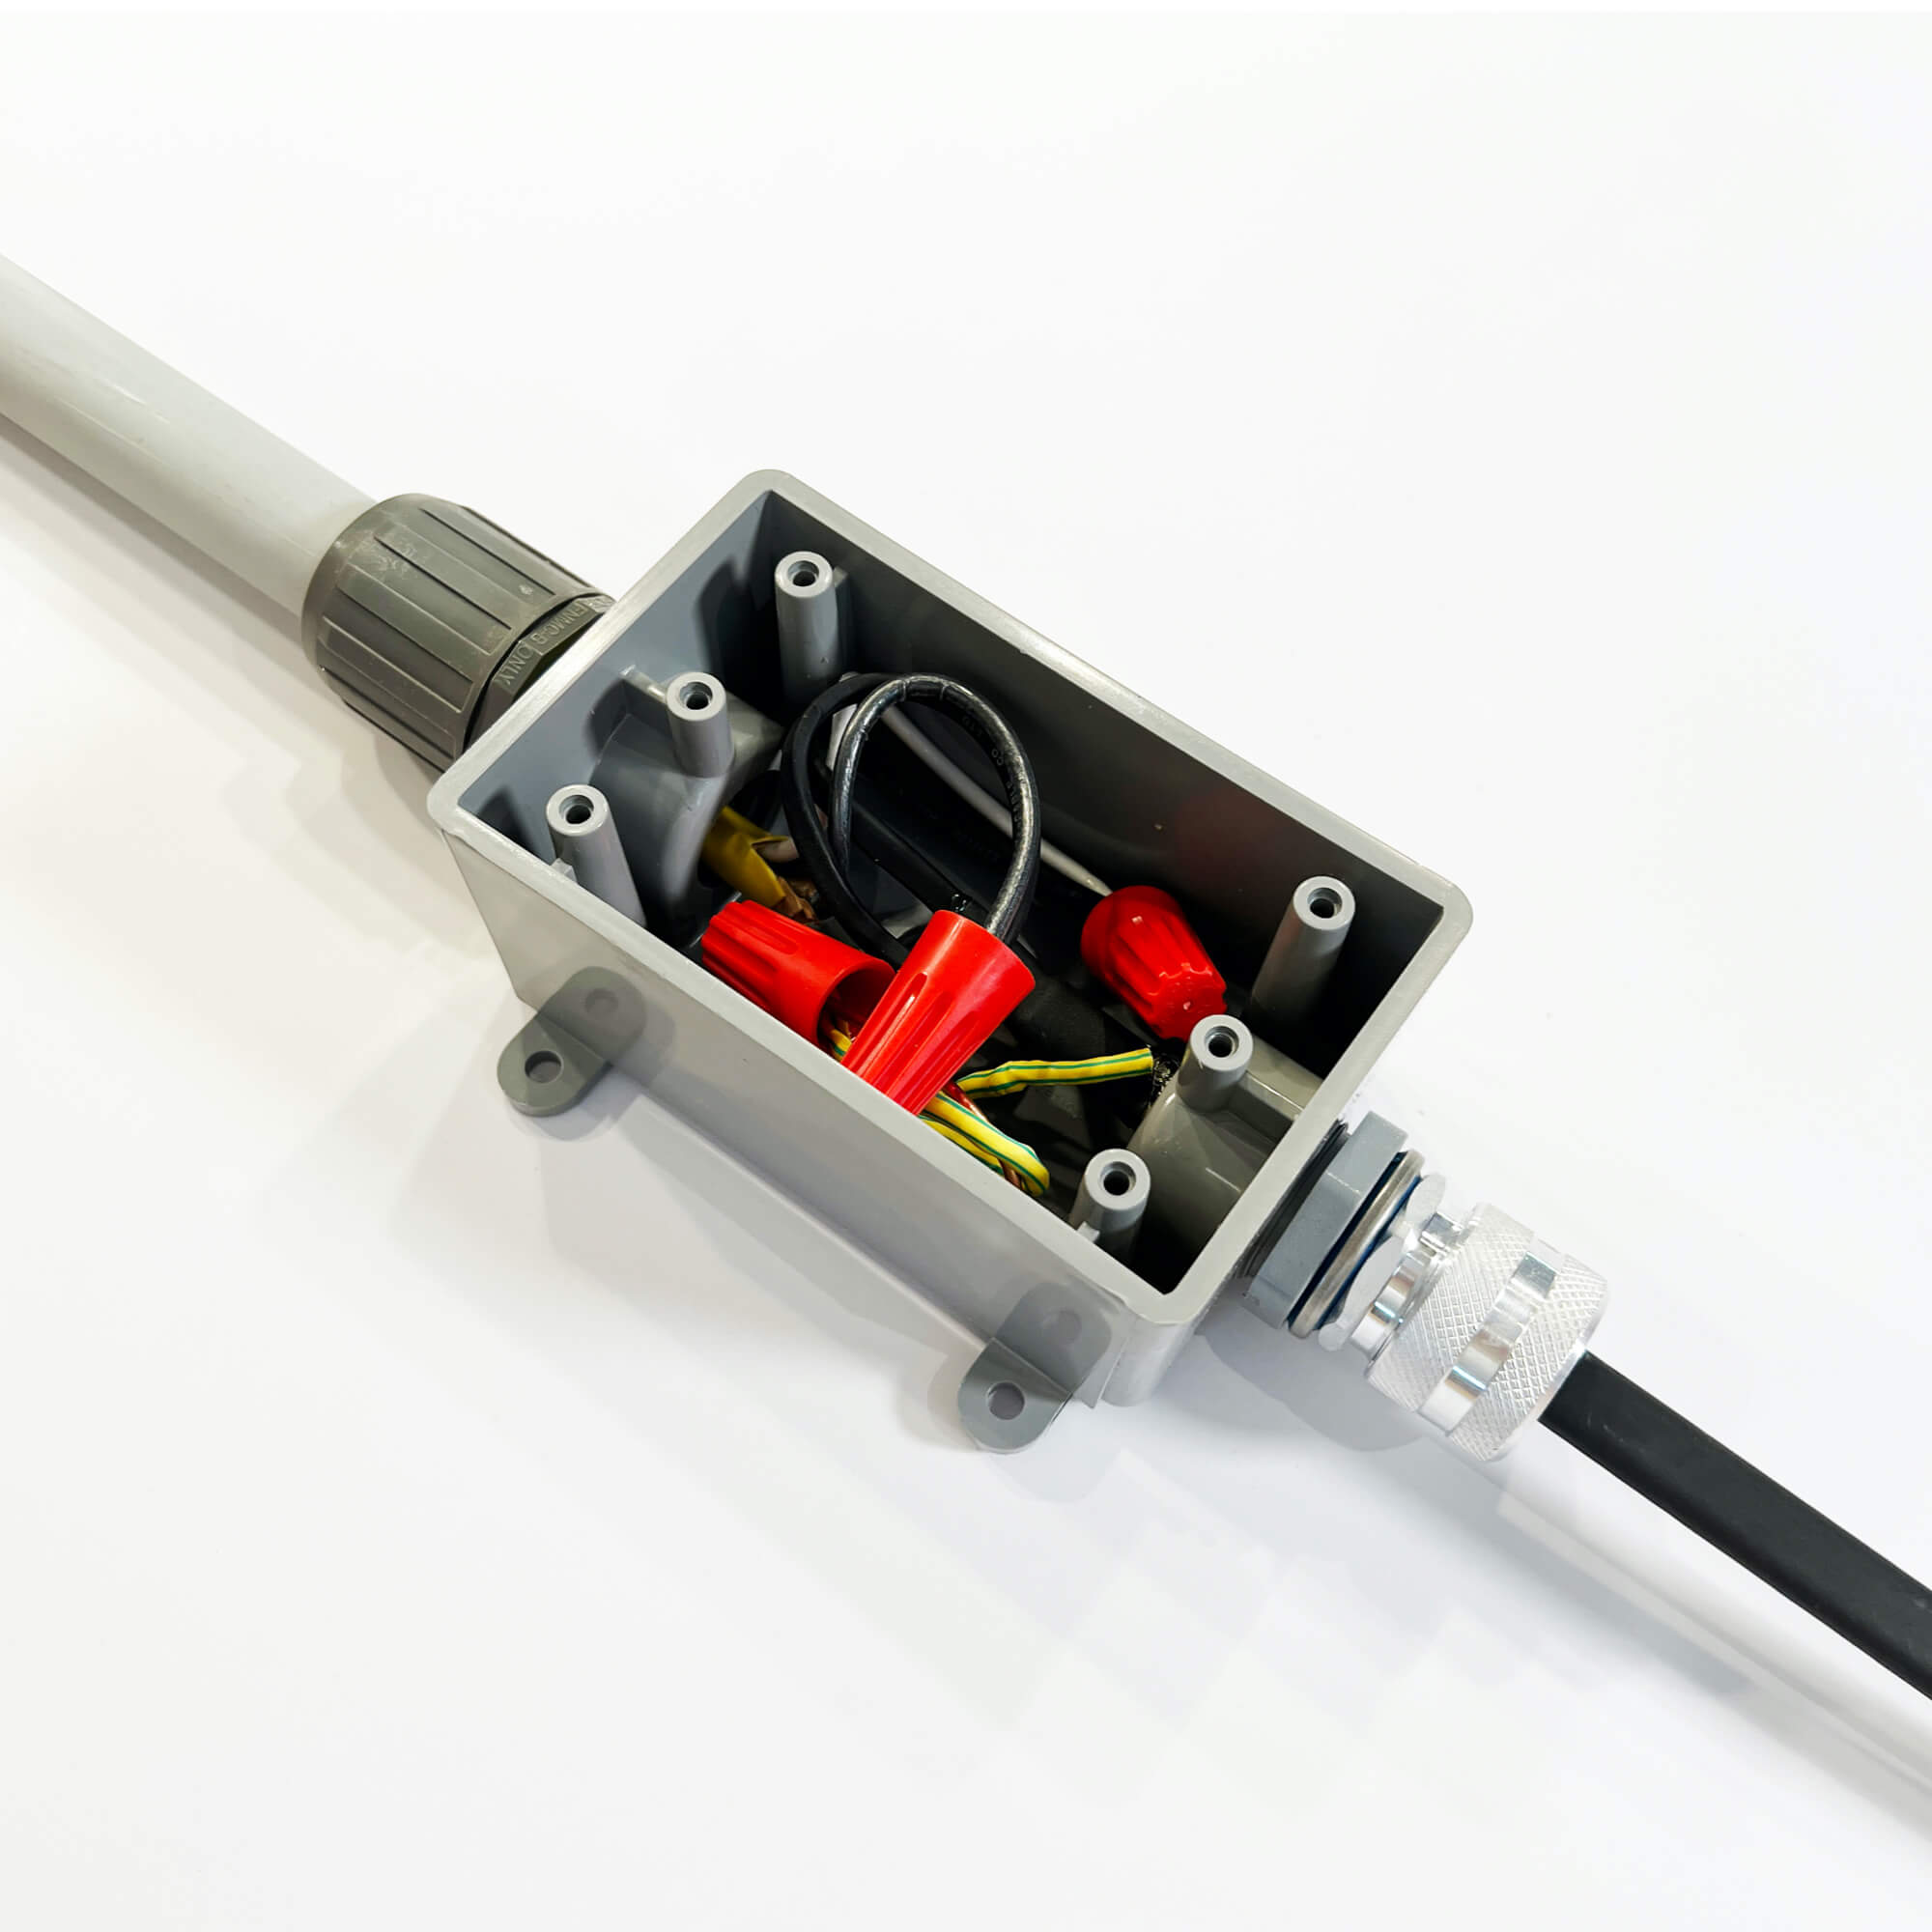
Used to make a direct, hard-wired power connection inside a junction box with your field-assembled Heat Tape configuration using Heat Cable Spools. Junction box and end seal not included.
$34.95
377 in stock

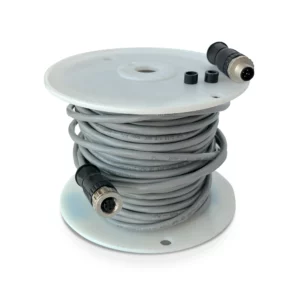
The Ice Dam Heat Tape Hard-wired Power Connection Kit works with all 10mm-13mm Self-Regulating Heat Tape / De-Icing Cable. When using with cable not manufactured by Radiant Solutions, refer to cable guidelines and instructions.
“Heat Tape Pro did exactly what I needed it to do. Now I don’t have to worry about water leaking into my house, because I can tell when it’s working by the little light on the end of the cable.”
-Michael P.
Amazon Customer
“This heat tape works as advertised. It was delivered to me fast, and although it’s a little complicated to install, the documentation is good..”
-Shaun D.
Radiant Solutions Customer
“I install thousands of feet of heat tape every year. This is the best stuff I’ve found to protect my customers homes and give them the piece of mind they need.”
-Patrick B.
Professional Installer
We are frequently restocking products and the one you need will soon be available. You can make a request to be notified when out of stock items are re-stocked.
Click Here to Submit your information to be notified of a Products Restock
The terms heat cable, heat tape and heat trace are all used interchangeably to described heated cables used to protect pipes from freezing, preventing roof and gutter ice dams from forming and for safeguarding temperature sensitive components.
Other terms we’ve seen used regarding Heat Tape are:
Heat Tape Pro has the most comprehensive installation system that works on almost any kind of roof type.
For information about installing Heat Tape Pro on a Natural Slate Roof, Click here.
For information about installing Heat Tape Pro on a Synthetic late Roof, Click here.
We are a family-owned business with less than 10 employees that has been in business since 2016. Our experience with ice dams goes far beyond that: our founder Steve started a business diagnosing and solving Ice Dam problems on customer houses for almost 35 years.
Radiant Solutions products, including Ice Dam Prevention products such as Heat Tape Pro and Pipe freeze Prevention products like Pipe Freeze Pro can be purchase here at this website or at Amazon.com.
Measuring the area of your roof that is affected by ice dams so you know how much heat tape to get is not overly complex, but it does have a few variables. Use our Heat Tape Measuring Guide to understand the process and print a worksheet that you can use to make sure you have all the right numbers.
Once you have all the measurements and considerations you need, use our Heat Tape Calculator to calculate the size of heat tape you should get.
Radiant Solutions has the most comprehensive installation system for Heat Tape that exists. We make accessories to install heat tape on almost any kind of roof.
Click here to learn about product specifically for Natural Cedar Roofs
This includes, but is not limited to:
The type of roof you have determines the roof clips and accessories needed. Check out our Heat Tape Installation Accessories.
Check out our full list of Frequently Asked Questions on our FAQ Page.
Take a Look at Our Heat Tape Installation Case Studies
Learn a Bit about Ice Dams and How & Why they Form