The DS8 turns hardwired heat cable systems on and off using both temperature and moisture, saving you a lot on your electric bill. This controller works with any Heat Tape PRO spooled cables from 6 watt to 8 watt, from 120 volts up to 277 volts. The DS8 will control a single 30 amp circuit at 277 volts.
$360.35
9 in stock

DS8 units operate by detecting environmental conditions through a base mounted temperature sensor and a remote heated precipitation sensor. When rain or snow land on the precipitation sensor, your cable system will turn on. The small heater in the sensor then rapidly evaporates the moisture, clearing the sensor in preparation for the next cycle. Smart stuff. The precipitation sensor is connected to a 10 foot cable and is intended for remote mounting near the roof deicing system. Use an EX-50 extension kit (with coupler) to put the precipitation sensor up to 60 feet away from the DS8 unit.
Signals from the sensor are supplied to the microcontroller which determines the appropriate action based on the system settings.
The difference between “sensor” and “controller” modes is the “Delay Off” drying cycle provided by each configuration. “Delay Off” time is the amount of time the sensor/controller will hold the load control relay(s) closed after the last detection of rain or snow. Proper setting of “Delay Off” assures that heat cables have created a sufficient melted pathway through the snow/ice on the roof.
The DS8 & DS9 heat cable controllers detect snow and rain in addition to directly controlling the cables themselves by pushing power into the cable only when called for. The DS8/DS9 is constructed of a durable NEMA 3R enclosure, rated for outdoor use and has a 3/4 Inch conduit hub and operates from -40F to +185F. The power pigtails are #14 Blue/Brown/Green and the load pigtails are #10 AWG Yellow.
“Heat Tape Pro did exactly what I needed it to do. Now I don’t have to worry about water leaking into my house, because I can tell when it’s working by the little light on the end of the cable.”
-Michael P.
Amazon Customer
“This heat tape works as advertised. It was delivered to me fast, and although it’s a little complicated to install, the documentation is good..”
-Shaun D.
Radiant Solutions Customer
“I install thousands of feet of heat tape every year. This is the best stuff I’ve found to protect my customers homes and give them the piece of mind they need.”
-Patrick B.
Professional Installer
Radiant Solutions products, including Ice Dam Prevention products such as Heat Tape Pro and Pipe freeze Prevention products like Pipe Freeze Pro can be purchase here at this website or at Amazon.com.
Installing our heat tape on your standing seam roof can be very effective in combating ice dam formation. There’s two main products used to install heat tape on your standing seam metal roof: The S-5 SR Heat Tape Clip, and the standard ice dam heat tape clip.
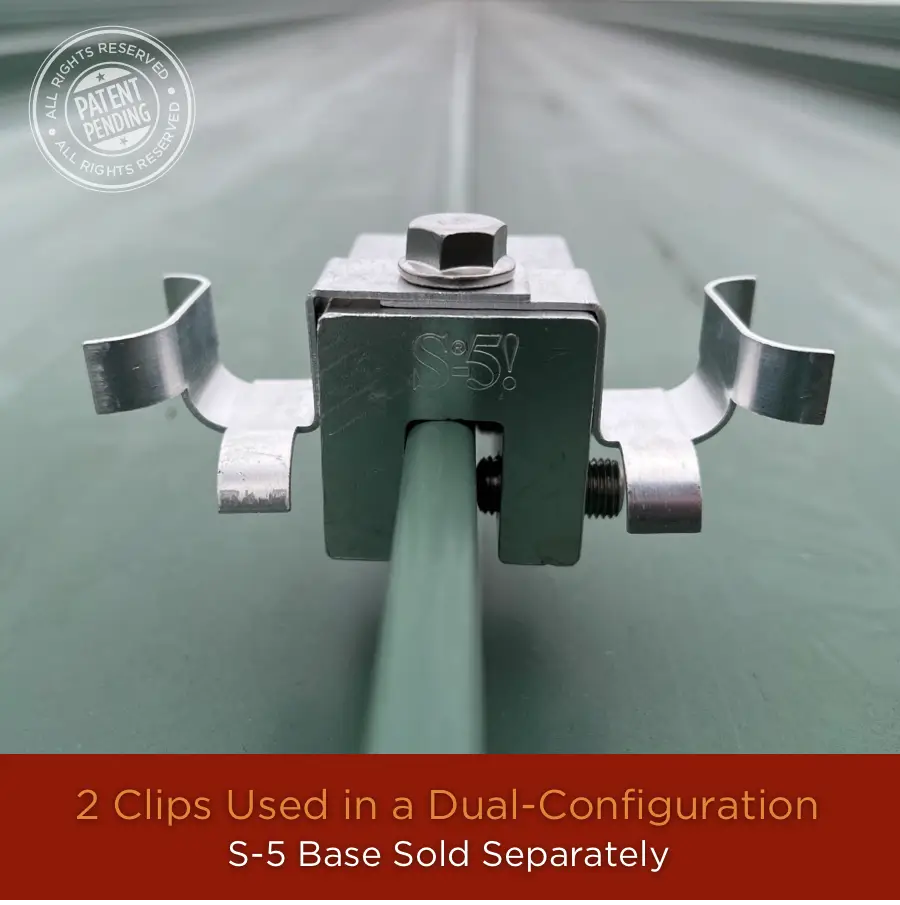
Installing Heat Tape on a Standing Seam Roof with the S-5 SR Heat Tape Clip
The S-5 Heat Tape Roof Clip is a new, patented roof clip design specifically for standing seam applications with a focus on ease of install and effectiveness. It is used in conjunction with the S-5 Base, which needs to be purchased separately. The S-5 base is designed to clamp onto the seam of a metal roof as the S-5 Clip holds your ice dam heat tape into position. Can be set up in a single or dual-clip configuration. (See product page for more info)
Installing Heat Tape on a Standing Seam Roof with Standard Roof Clips
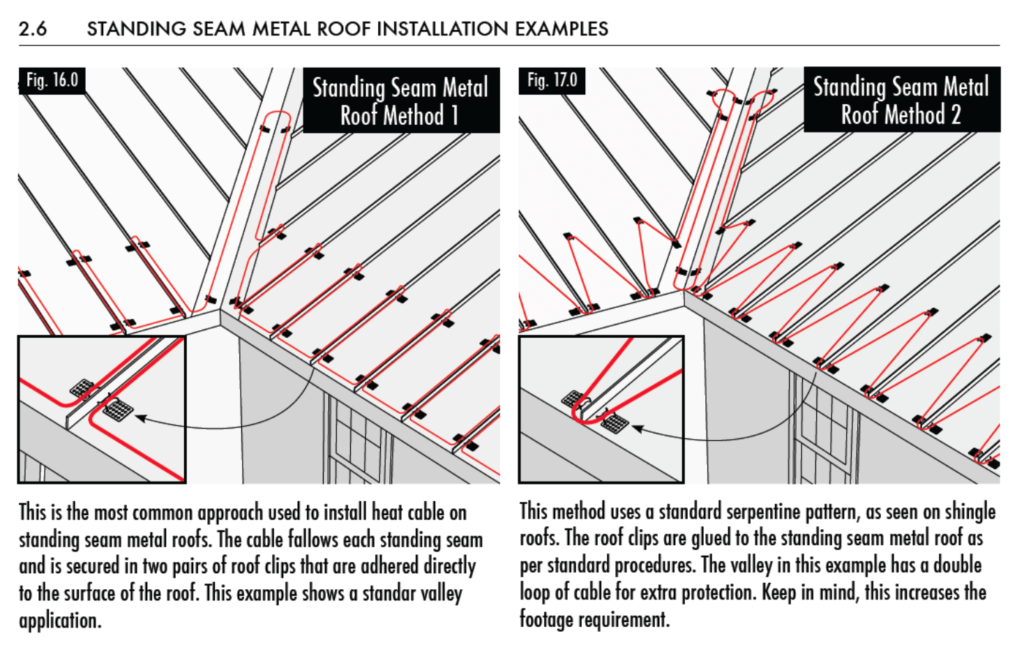
There are specific ways/configurations used when installing heat tape on a standing seam / metal roof using standard heat tape clips. The following (2.6 – figure 16.0 & 17.0) shows a snippet of the HeatTape Pro installation manual showing two different clip configurations, more info can be found in the manual itself: Heat Tape Pro installation Manual
The short answer is NO. Self-regulating heat cable does not turn itself on and off automatically. To do that you need to put the cable on a switched circuit or outlet or on a controller. Of course, you can also be old-school about it and simply plug and unplug as needed.
“Self-Regulating” refers to the fact that these cables are temperature sensitive. Due to their construction, these cables sense changes in temperature along their entire length, demanding more power as temps fall and less when they rise.
PipeFreeeze Pro™, Pipe Freeze Protection Solution has a built in thermostatic switch, meaning it will turn on and off on it’s own.
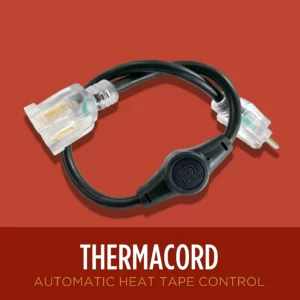
Heat Tape Pro™, does not contain a built-in thermostatic controller. We recommend adding the ThermaCord™ Thermostatic controller to turn your Heat Tape PRO to turn the cable on and off with changes in temperature.
Heat Tape PRO can be use with any gutter system made, be it open, closed, metal, plastic, vertical or horizontal. Heat Tape PRO will work throughout the winter to keep an ice free path open for water so it can escape and move away from your home.
Keep in mind that if your home has ice dams in addition to ice in your gutters, you will want to install Heat Tape PRO on your roof to address that problem as well. Heat Cable in the gutters alone will not manage problematic ice on the roof surface.
If you are in need of a specific product that is currently out of stock, you can request to be notified when new inventory of product is in stock.
Click Here to complete the Re-stock Notification Form
We generally do not reserve stock for miscellaneous reasons outside our stated inventory on this website. Besides selling on this website, we also Sell our products on Amazon.com – in doing so, we send separate inventories to their warehouse for fulfillment, so you could check inventory of the product you are looking for there.
Measuring the area of your roof that is affected by ice dams so you know how much heat tape to get is not overly complex, but it does have a few variables. Use our Heat Tape Measuring Guide to understand the process and print a worksheet that you can use to make sure you have all the right numbers.
Once you have all the measurements and considerations you need, use our Heat Tape Calculator to calculate the size of heat tape you should get.
The terms heat cable, heat tape and heat trace are all used interchangeably to described heated cables used to protect pipes from freezing, preventing roof and gutter ice dams from forming and for safeguarding temperature sensitive components.
Other terms we’ve seen used regarding Heat Tape are:
We are building a hand guide to identify what kind of roof you have and find the clips that can/should be used with that roof-type.
View the Guide Explaining What Clips You Need Here
We have a guide on How to Measure for Purchasing Heat Tape that will help you. Once you have your measurements, you can find our Heat Tape Calculator here.
Check out our full list of Frequently Asked Questions on our FAQ Page.
Take a Look at Our Heat Tape Installation Case Studies
Learn a Bit about Ice Dams and How & Why they Form
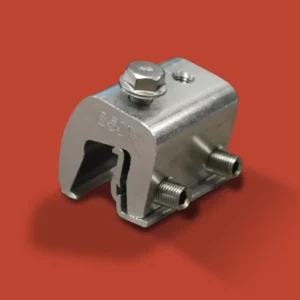

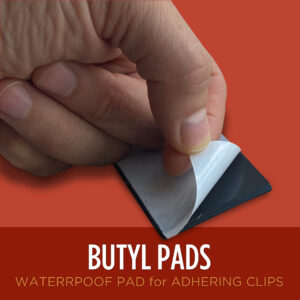
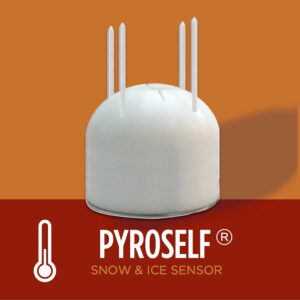
Find heat tape products & accessories for ice dam prevention and pipe freeze protection.
We may be able to help connect you with a Radiant Solutions Heat Tape installer in your area.
And Product Dimensions
Understand the problems that our products solve and the advantage Radiant Solutions has over our competitors.
Demand is high across the U.S. & installers are needed!
128-Bit encrypted connection
We’re here to help. We are a 35 year old, family-owned, American company who loves to hear from our customers.