How to Install Heat Tape in Open Downspouts
7 Tips for Installing Heat Tape in Open Downspouts
We receive calls from architects, contractors and commercial property owners from around the country about the best ap- proach to keeping ice from accumulating in open downspouts. Although one run of Heat Tape PRO will probably do the job, we generally recommend two given the amount of ice that can quickly pile up in these downspouts, resulting in serious liability including property damage and public safety concerns.

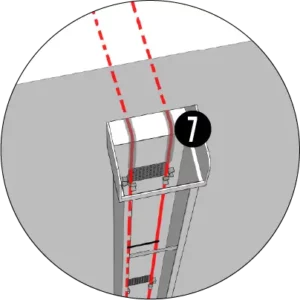
Protecting Heat Tape for the Edges of Sheet Metal
A pocketed scupper passes through a parapet wall from a flat roof. CableGuard used where the cable transitions into the downspout. Protection here is smart because there are often sharp sheet metal edges present.
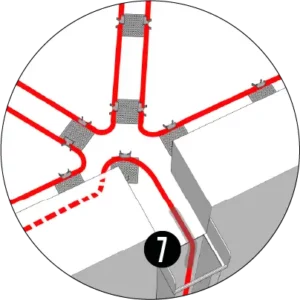
Oversized Clip with Double Cradle
A common ‘Star Pattern’ on the flat roof, created by glueing Oversized Heat Tape Clips (DDK-719-2-10) directly to the membrane using SB-190 (SB190-C-0) Adhesive. Again, the transition of the cable is protected with CableGuard.
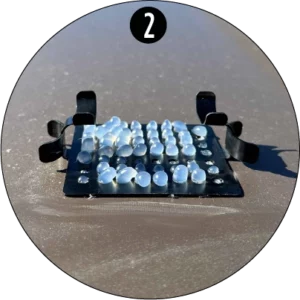
Oversized Clip with Double Cradle
The Oversized Double Cradle Heat Tape Clip (DDK-719-2-10) can be glued to the vertical back surface of the open downspout with an Industrial-Strength, Exterior Grade adhesive like SB-190 (SB190-C-0). Space clips about 36 inches.
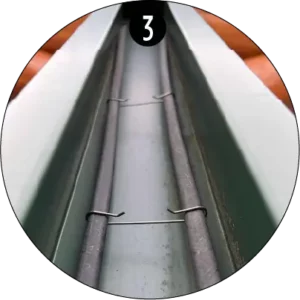
Separate The Heat Tape in the Downspout
Using our Heat Tape Gutter Separator Clips, space the two runs of heat tape in the downspout. Space separator clips about 36 inches, staggered between the heat tape mounting clips.
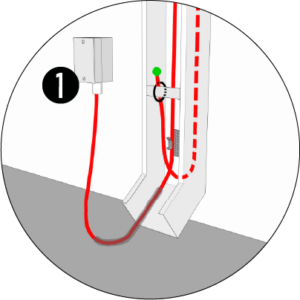
Option A:
Hard Wired Heat Tape
If you are installing bulk heat tape cable from a spool, it will require a Power Connection Kit to hardwire the Heat Tape into a junction box. A GlowCap end seal can be added to serve as a visual indicator for when your hear tape is working.
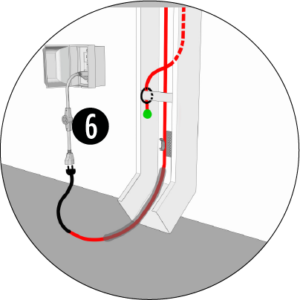
Option B:
Plug-in Ready Heat Tape
Plug-in Heat Tape will need a nearby standard outlet. A ThermaCord can be added as an automatic thermostatic controller, turning your heat tape on when it’s cold enough to be needed and saving you energy when it is not.
Products Referenced Above:
7
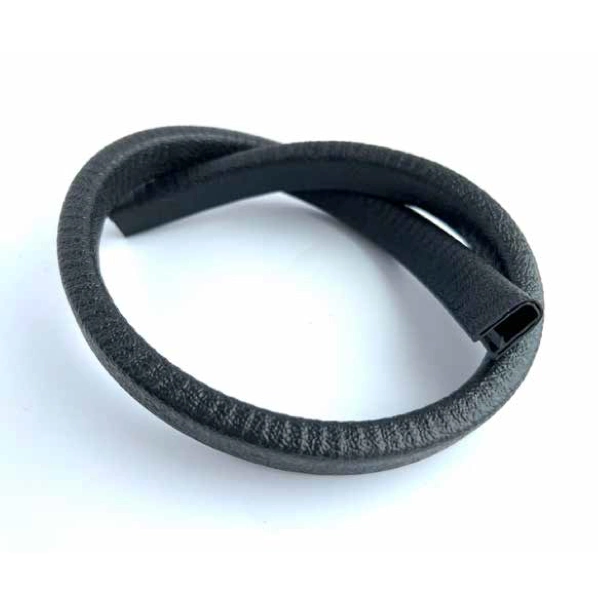
CableGuard
CG-24
7

CableGuard
CG-24
7

CableGuard
CG-24
7

