
9 Common Ice Dam Locations
Ice dams form when warm air escaping from your living space melts snow on the upper roof, and that water refreezes when it hits colder areas. Understanding exactly where these troublesome ice barriers typically develop can help you prevent expensive damage and know where to focus your heat cable installation efforts.
Here are the most common locations where ice dams do and do not happen on residential properties. This will help in terms of understanding where the most common heat cable installations in B B bjh hmm occur as well. The eaves get all the attention because that is where the vast majority of ice dams form. That said, they do occur in other spots.
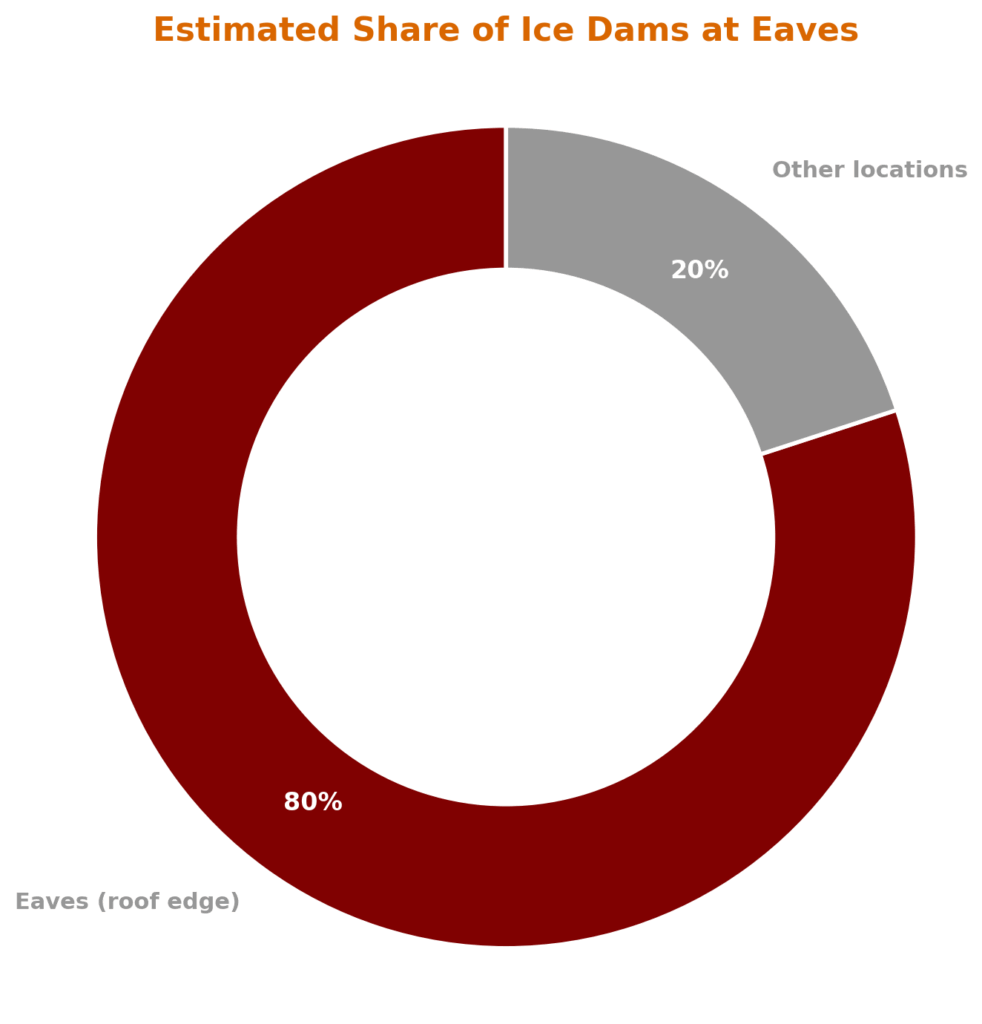
Eaves Edge: Where 80% of Ice Dams Form
The eaves edge is the most common place to see ice dams. 80% of the dams our installers deal with are on the eaves. This happens because warm air escaping from your living space warms the upper roof, melting snow, and the runoff refreezes when it reaches the colder eave overhang. M
Eaves are particularly vulnerable because they extend past the heated walls of your house, so they stay much colder. On roofs with a low pitch, even a small ice dam (only 1–2 inches high) at the eaves can back up water under shingles and cause significant leaks and interior damage.
Roof Valleys: Natural Water Collection Points
Valleys where two roof planes meet are very common areas for ice dam formation. It is important to never use hammers or chisels near valleys as the difference between a thorough ice removal job and valley damage is fractions of an inch.
Roof valleys are low points that naturally collect and channel water runoff, which then easily refreezes in cold weather. In heavy snow, valleys often accumulate more snow than other roof areas because wind-blown snow settles there, and they’re frequently shaded by higher roof sections, so parts of the valley stay colder. As heat escaping from the house melts snow higher up, the water flows down into the valley and can refreeze in the colder, snow-packed lower section.
Because valleys funnel a lot of melt-water, ice dams here can grow large and force water under shingles or flashing.
Vaulted Ceilings: Heat Loss Hot Spots
Interior rooms with vaulted ceilings are frequently associated with large ice dams on the roof directly above them. Bathrooms are often the worst. Moreover, if you add recessed lighting to a vaulted ceiling, you are even more likely to have ice dams.
Vaulted or cathedral ceilings create problems because they often have limited space for insulation and no attic buffer, allowing more heat from the room to directly warm the roof deck from below. This concentrated heat causes snow on that part of the roof to melt unevenly.
Bathrooms with vaulted ceilings tend to be the worst offenders because warm, humid air from showers can leak into the roof structure and accelerate snow melt. If you’ve got recessed lighting installed in a vaulted ceiling, they can leak significant amounts of heat into the attic/roof cavity, creating “hot spots” on the roof that make ice dams even more likely.
Low Slope Roofs: Where Small Dams Cause Big Problems
On roofs with a low slope (angle), even a 1-2″ ice dam can cause significant leaking and interior damage. This is common over single-story additions or sections of the home.
Ice dams pose a greater risk on low-slope or shallow-pitch roofs because the lower the roof pitch, the more easily water can be pushed up under shingles by even a small ice blockage. On a steep roof, water runs off faster, but on a low-slope roof, water tends to linger and spread out. Even a minor ridge of ice on a low-slope roof can back up a surprising amount of water that can seep under shingles or flashing and penetrate the roof assembly.
Skylights: The Sneaky Ice Dam Spots
Ice dams often occur both on the roof surface directly below and above skylights. Ice dams above skylights are hard to see from the ground, making them some of the sneakiest to discover.
Skylights are essentially big holes in the roof with windows, which means the area around them often has less insulation or more air leakage. Warm air from the interior can escape around the skylight opening, warming the roof locally and melting snow in that section. An ice dam above a skylight is especially sneaky because it can be hard to spot from the ground, hidden just upslope of the window. You might notice leaks around the skylight or icicles, but not realize an ice dam has formed just above the skylight out of sight.
Dormer Valleys: Double Trouble Areas
The valley areas where a dormer roof meets the main roof frequently get ice dams.
A dormer is a smaller roof projection (often with a window) that ties into the main roof. Where a dormer’s roof meets the main roof, a valley or junction is created. These dormer valleys frequently collect snow and channel runoff just like any roof valley, making them prime spots for ice dam formation. The combination of the main roof’s snow melting and the dormer’s colder valley can lead to refreezing right in that corner or crease.
Chimneys and Flues: Small Dams, Big Leaks
Ice dams occasionally form on the roof around chimneys and furnace flues (any place heat escapes through the roof line). Ice dams in these locations can be very, very small and still cause leaking.
Any penetration that lets heat escape through the roof can be a spot for ice dams. A chimney extends through the roof, and warm air or heat radiating from the chimney can warm the roof area immediately around it. This causes snow to melt around the chimney, and that water can refreeze at the colder perimeter of the chimney area or downslope of it. Even a minor ridge of ice adjacent to a chimney can divert water into the gap between the chimney and roof, bypassing the flashing.
Roof Penetrations: Mini Ice Dams Around Vents and Pipes
Any openings through the roof–such as pipes and vents–are a good place for small ice dams to form around the base of the penetration.
Roof vents, plumbing vent stacks, and any small pipes sticking up through the roof can have ice dams form at their bases. These penetrations are potential heat leak points where warm air from inside can escape around the pipe or vent, warming the surrounding roof deck. Even the metal pipe itself can conduct a bit of heat, creating a warm spot in the snow around the penetration that causes snowmelt. The water then refreezes as it flows just beyond the warm zone, creating a little donut-shaped ice dam that can encircle the vent pipe or exhaust vent.
Unheated Areas: The Exception to the Rule
Ice dams seldom occur over unheated areas such as garages and porches, like along the roof edge above an entryway.
This happens because the key ingredient for ice dam formation – heat escaping from below – is missing. Ice dams require a warm roof surface higher up and a cold roof edge. Over an unheated space, the roof stays cold throughout, so the snow doesn’t melt and refreeze in the same way. If you see icicles on the edge of a cold garage roof, it’s likely just from general thawing in the sun, not the interior heat-loss mechanism that causes true ice dams.
Ice Dam Risk by Location: Quick Reference
| Location | Risk Level | Why It’s Problematic | Prevention Focus |
| Eaves Edge | Highest (80%) | Cold overhang + warm upper roof | Primary heat cable location |
| Roof Valleys | High | Water collection + shaded areas | Gentle removal, avoid tools |
| Vaulted Ceilings | High | Direct heat transfer + limited insulation | Seal air leaks, add insulation |
| Low Slope Areas | High | Water backs up easily under shingles | Even small dams cause damage |
| Skylights | Medium-High | Heat loss + hard to spot from ground | Check above and below skylight |
| Dormer Valleys | Medium | Snow collection + temperature differences | Monitor junction areas |
| Chimneys/Flues | Medium | Heat source + small leaks cause damage | Seal gaps, insulate chase |
| Roof Penetrations | Low-Medium | Small heat leaks create mini-dams | Seal around penetrations |
| Unheated Areas | Very Low | No heat source from below | Typically not a concern |
How to Safely Check for Ice Dams
Safety is paramount when checking for ice dams. The best practice is to stay on the ground and do a visual inspection of your roof’s edges and other vulnerable areas. Use binoculars to scan hard-to-see spots like eaves, valleys (including dormer valleys), above and around skylights, and around chimneys and vents for any signs of excessive ice buildup or icicles.
Do not go onto a snowy or icy roof yourself – walking on an icy roof is extremely dangerous and can damage the roof covering. Most ice dam observation can be done from ground level. If you suspect an ice dam and can’t safely verify it, or if you notice warning signs of a leak, call a professional roofer or ice dam removal service.
The Bottom Line
Understanding where ice dams typically form helps you focus your prevention efforts and know what to watch for during winter months. While the eaves get most of the attention (and rightfully so, since they account for 80% of ice dams), don’t ignore the other trouble spots on your roof.
A comprehensive self-regulating heat cable system that addresses these common problem areas can save you thousands in water damage repairs. Our Heat Tape PRO system with GlowCap™ LED technology lets you see at a glance that your protection is working, giving you peace of mind all winter long.
Need an Estimate on Your Home?
Click Here to Use Our Heat Cable Calculator
Have Questions? Need to Talk to Someone?
Phone: 1-877-387-4218
www.radiantsolutionscompany.com
LEGAL NOTE: All rights reserved. Don’t steal our work. We have good lawyers. This document is protected under US Copyright Laws. The language and/or artwork in this document may not be copied or duplicated without express prior agreement in writing from Radiant Solutions Company.